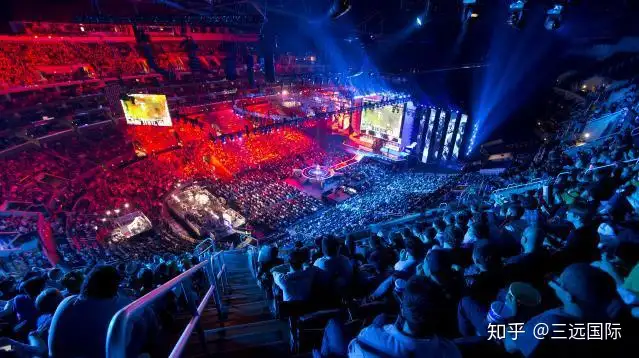
今天傍晚,2023 英雄联盟全球总决赛落下帷幕在最终的决赛中,来自韩国 LCK 赛区的 T1 战队以 3-0战胜来自中国 LPL 赛区的 WBG 战队,捧起 S13 冠军奖杯T1 的上单选手 Zeus 荣获 FMVP,他三局比赛的总战绩为:16 - 4 - 17。
这不仅是 T1 时隔 6 年再度夺冠,亦是队史第 4 次夺冠;中单选手 Faker 也完成了四度加冕的壮举,成为历史上首位四冠王值得一提的是,T1 不仅成为世界赛历史首支战胜同一个赛区四支战队夺冠的队伍,还达成了在全球总决赛的第 100 场胜利。
而承载着万千观众期许的 WBG 战队,倒在了距离冠军奖杯仅有一步之遥的地方,不免让人感到可惜不过尽管如此,WBG 能站在决赛的舞台上,已经出乎许多人的意料在开赛前,外界对于 WBG 的成绩预测普遍是 8 强,毕竟世界赛强者如云,。
而 WBG 仅仅是 LPL 赛区的四号种子然而从瑞士轮阶段比赛,到八强 / 四强,WBG 都展现出了远超在 LPL 联赛中的表现,一步步挺进决赛在这个过程中,WBG 的五位选手 The Shy、Weiwei、Xiaohu、Light、Crisp 都可圈可点,既发挥出了应有的实力,又流露出了不俗的韧性,不断刷新上限。
诚然结局没能皆大欢喜,但书写了一段带有遗憾的奇迹之旅当然了,就像大众调侃的那样,WBG 是天选的“气运之子”回首一路以来的晋级历程,他们印证了卡牌大师的那句台词“幸运女神在微笑”从瑞士轮突围进入八强后,WBG 抽签抽到了纸面实力最弱的 LCS 赛区的 NRG 战队。
以及在赛前的选边环节,屡屡拿到选边权,将主动权握在自己手中不过,把 WBG 取得的成绩全都和运气挂钩是不正确的,因为“打铁还需自身硬”,唯有实力作为根基,才有借助运气 Buff 的资本就决赛的对决状况来看,WBG 相较于 T1,在硬实力方面确实有差距,纵使有选边权加持,终究甘拜下风。
至于 T1 战队,作为知名度、荣誉最高的 LOL 战队,他们又一次证明了自己早在 10 年前的 S3 英雄联盟全球总决赛,当时的 SKT T1 就一路过关斩将拿下冠军,并在后来的 S5、S6 又两度夺魁。
此等出彩的成绩,让 T1 笑傲英雄联盟的江湖在去年 S12 全球总决赛中,T1 本有机会更进一步,结果在决赛中 2:3 败给 DRX而今年,五位选手卷土重来,在四强成为 LCK 独苗、面临 3 支 LPL 队伍围剿的情况下,。
杀出重围特别是在半决赛中,他们战胜了今年势头最迅猛的 JDG 战队,打碎了 JDG 成为首个全年满贯队伍的计划在今天的决赛中,也没有让冠军旁落,弥补去年遗憾的同时,缔造了新篇章,巩固了 LOL 第一战队的位置。
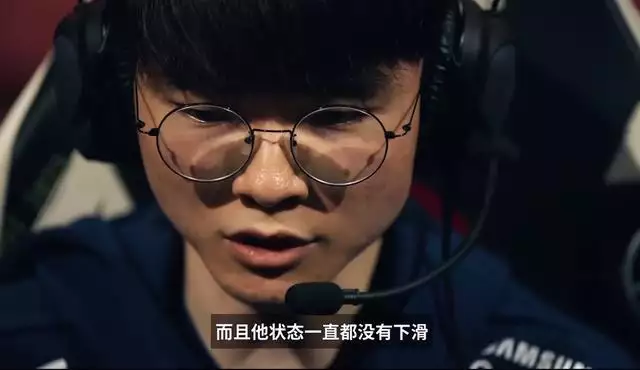
以及正如前文所说的那样,T1 的中单选手 Faker 第四次夺冠,超越老队友 Bengi,成为首位且唯一的四冠王身为英雄联盟公认的“大魔王”,Faker 巅峰时期的实力有目共睹,如今在 27 岁的年纪,仍然能收获冠军,实属不易,是真正的“GOAT”。
在一定程度上来说,Faker 就好比是机圈的 iPhone,全盛时期无可匹敌,哪怕现在有一些方面被超越了,但还是不容小觑,地位没有动摇其实,回首 T1 和 Faker 过去十年的经历,也并非一帆风顺,曾三次无缘全球总决赛。
然而,几次陷入低谷时,T1 和 Faker 都没有放弃,比如这次夺冠,就时隔 6 年之久,并且在整体上,一直保持着一定的竞争力无论是 T1 战队还是 Faker 选手,都无愧英雄联盟最高的山、最长的河对于 LPL 的支持者来说,很难不对此次 S13 的结果感到失望,曾以为冠军是囊中之物,没想到被 T1“百炼成金”。
LPL 的战队依然没能在全球总决赛中,翻过 T1&Faker 这座大山或许一切就像 DK 中单 ShowMaker 选手所说的那样:失败总是贯穿人生的始终S13 已然告一段落,S14 即将拉开帷幕,明年的主旋律又将是“抗韩”
在即将到来的休赛期,必然会出现大量选手转会的情况,再加上选手的状态又会有起伏,因此当下很难预测 LPL 战队明年的前景此时此刻,只希望 LPL 的战队能三省吾身,认清所存在的不足,下定决心发奋图强组建全华班也好,引进外援也罢,
重塑 LPL 的荣光,义不容辞!本文源自IT之家
亲爱的读者们,感谢您花时间阅读本文。如果您对本文有任何疑问或建议,请随时联系我。我非常乐意与您交流。


发表评论:
◎欢迎参与讨论,请在这里发表您的看法、交流您的观点。